Use Limbar with React Native & Expo
The built-in local emulator is great for local development development as long as you can spare ~4 CPU cores when it’s idle, ~6GB memory, a GPU presence and support for virtualization. These are not that big of a deal if you have a new computer but likely challenging in cases where you run many other processes and need that 4 CPU to work for something else. With Limbar, you don’t need to spend any local resources.
The remote Android instance you get is connected to your local computer just like
the same way your physical Android device is connected - through adb.
Create an Android Instance
This step assumes you have
liminstalled. If not, installlimhere.
The following command should get you an Android instance created and connected locally through a network tunnel.
lim run androidYou should see an output similar to the following:
$ lim run android

✓ Checking your token 📜
✓ Creating a new Android instance 🔌
✓ Instance zo8nryvrjb is ready! (696.673958ms) 💚
✓ Tunnel is ready for adb at localhost:62837 🚇
⠏ Ready to control the device 🕹️
And then a window will pop up letting you control the Android instance remotely.
Install Expo Go
If you are using Expo Go to test your app, it needs to be installed prior to deploying your app. You can download and install it with the following commands.
# You can get the latest link from https://expo.dev/go
curl -Lo /tmp/expogo.apk https://d1ahtucjixef4r.cloudfront.net/Exponent-2.32.17.apk
adb install /tmp/expogo.apk
You should see success logs like the following:
$ adb install /tmp/expogo.apk
Performing Streamed Install
Success
Start reverse tunnel
The Expo Go app will need to access the development server you are running locally. In order to
make that possible, we’ll tell adb to forward all requests made in the phone on given port
to our machine.
adb reverse tcp:8081 tcp:8081Start your Expo development server
In your app folder, run the following to start your development server:
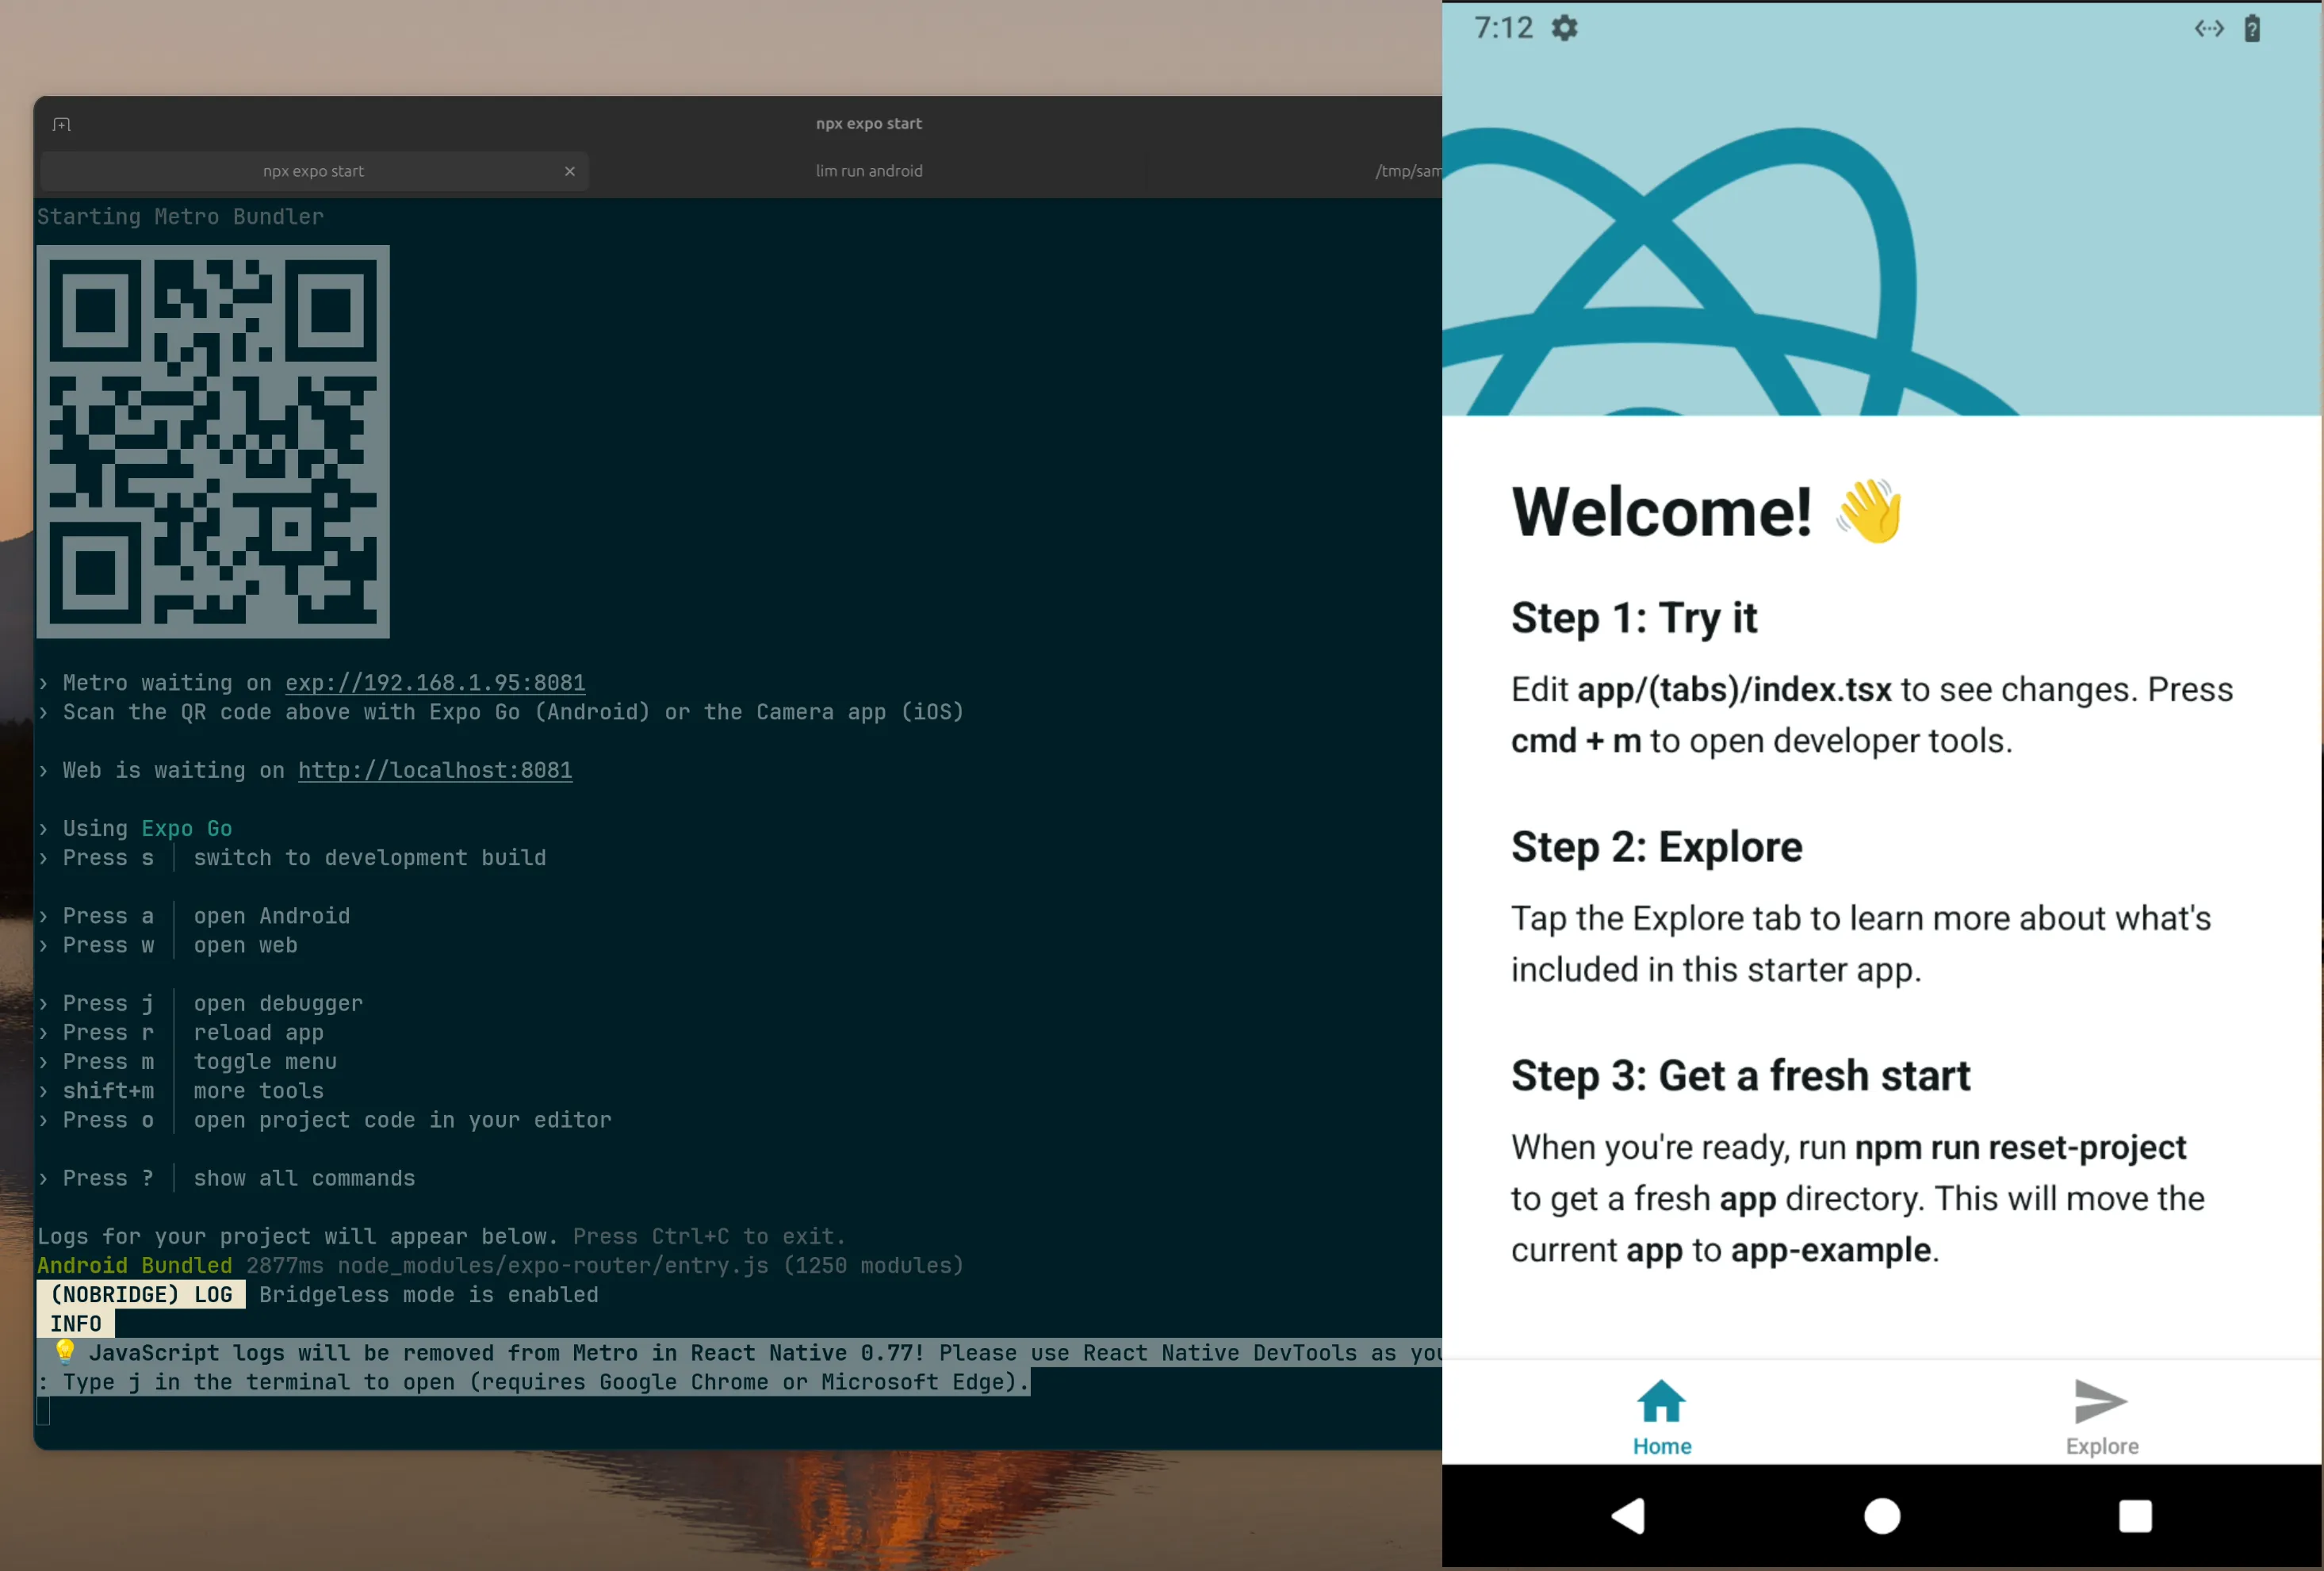
npx expo startYou should see an output like the following:
$ npx expo start
Starting Metro Bundler
▄▄▄▄▄▄▄▄▄▄▄▄▄▄▄▄▄▄▄▄▄▄▄▄▄▄▄
█ ▄▄▄▄▄ █   █▄ █▄▀█ ▄▄▄▄▄ █
█ █   █ █ ▀▄ █▀▄▄▄█ █   █ █
█ █▄▄▄█ █▀██▀▀█▀▄██ █▄▄▄█ █
█▄▄▄▄▄▄▄█▄▀▄█ █▄█▄█▄▄▄▄▄▄▄█
█ ▄██▄ ▄▀▀▀▀▄▀█▄ ███ ▀▄▄ ▄█
█▀ █  █▄█▀█▀ ▄██ ▀▀ █▄  ▀██
█▀  ▀▀▄▄▄▄▀▄█▄▀▄▀▄▀▄▀▀▄ ▀██
███  █ ▄▄▄▄▄█▀██▄▄▄█▄▀ ▀███
█▄▄█▄█▄▄▄▀ ▀▄▀█▄▄ ▄▄▄ ▀ ▄▄█
█ ▄▄▄▄▄ █▀ █ ▄██▀ █▄█ ▀▀█▀█
█ █   █ █▄▄▀█▄▀▄█▄▄ ▄▄▀   █
█ █▄▄▄█ █▀▀▀█▀█▀▄██▄▀█▀▀ ██
█▄▄▄▄▄▄▄█▄██▄▄▄▄████▄▄▄▄▄▄█

› Metro waiting on exp://192.168.1.95:8081
› Scan the QR code above with Expo Go (Android) or the Camera app (iOS)

› Web is waiting on http://localhost:8081

› Using Expo Go
› Press s │ switch to development build

› Press a │ open Android
› Press w │ open web

› Press j │ open debugger
› Press r │ reload app
› Press m │ toggle menu
› shift+m │ more tools
› Press o │ open project code in your editor

› Press ? │ show all commands

Logs for your project will appear below. Press Ctrl+C to exit.
Connect Expo Go to your server
In the Android instance screen, open the Expo Go app and enter the following URL manually to connect:
exp://localhost:8081It should be able to connect and show your app!